Last Updated on September 2, 2022 by Forest Master
What this article includes:
- What is no dig gardening?
- Why use the no dig method of gardening?
- Does no dig gardening work?
- How to make a no dig vegetable garden
What Is No Dig Gardening?
I must admit, concepts such as mulching, and no-dig gardening escaped me. Then, I came upon the YouTube channel of one Charles Dowding, vegetable wizard of Homeacres, I was as confused as you are.
And the more and more content I consumed on this alien method of gardening, the more bizarre it seemed.
To put a complex topic in a simplified manner (of which it is it is hugely simplified), no-dig is growing plants in compost on top of the naturally occurring soil.
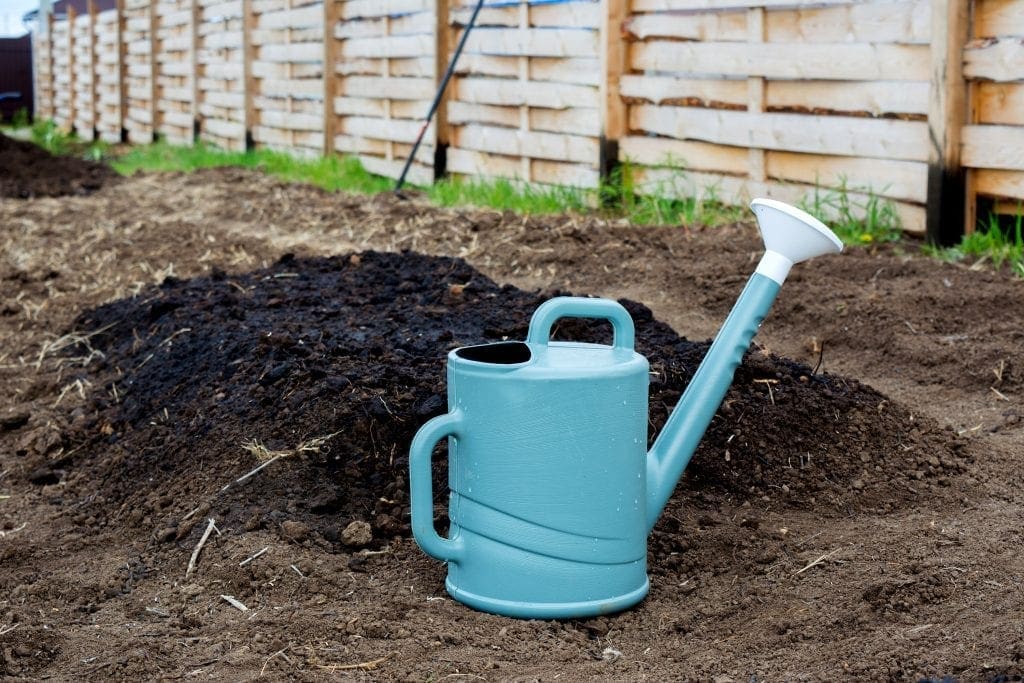
It’s often seen as the more organic way of growing your vegetables, as it leaves the natural life and flora that exists in the soil alone rather than tilling up their home.
Seem strange? I thought so too.
But the more and more I read and watch, the more people advocate for this method.
It’s easier to harvest and weed growth (if done correctly) is almost non-existent.
Read on to find out more!
Why Use The No Dig Method?
The first question you’re probably asking yourself is why I should consider using the no dig method of gardening?
Why take the risk?
Because ultimately, it is a risk. If it doesn’t pan out, then you’ve lost a lot of valuable time that could have been put to better use.
However, that being said, if done correctly no dig gardening is a huge time saver.
No weed growth
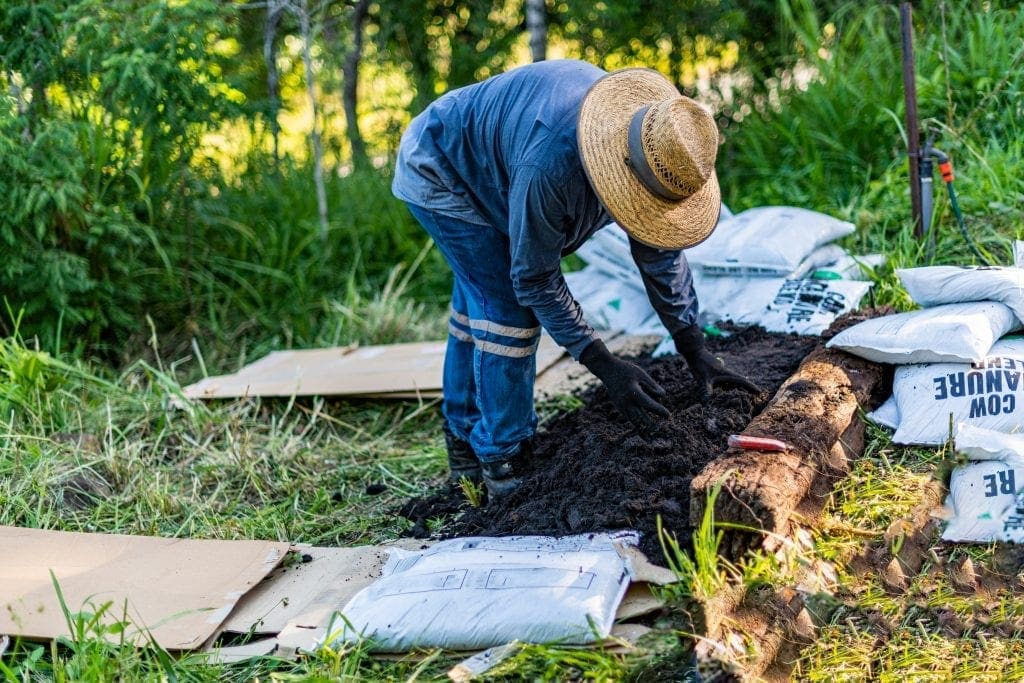
So the method of starting out in no dig involves covering the area in which you plan on sowing your crops to kill everything underneath.
Most commonly using cardboard (as it will eventually break down and feed nutrition back into the soil) but this really can be just about anything.
I’ve heard stories of people using wood chips and carpets/rugs too at this stage. The idea is simply to block out all light so that the greenery underneath is deprived, eventually killing it off.
Obviously, it goes without saying that you don’t want to use anything that’s going to be detrimental to the health of your soil (ink, chemicals etc.).
No disturbing the soil
By using no dig gardening, you’re not having to till or completely remove the topsoil, which has two effects.
Firstly, all that initial work you’d have to put in is completely removed, which saves you at least a day but probably more depending on the size of your allotment.
Additionally, if you’re not digging into the soil then you’re not disturbing all that microbial life that is currently in the soil.
It’s these organisms that break down matter and spread nutrition throughout your compost/soil and are integral to both good soil health and good plant health.
And since your soil (under the compost) hasn’t been loosened, your plants will have a much better base in which to anchor themselves.
Easier to harvest
This method allows for easier harvest of crops, as they will all be growing in the compost.
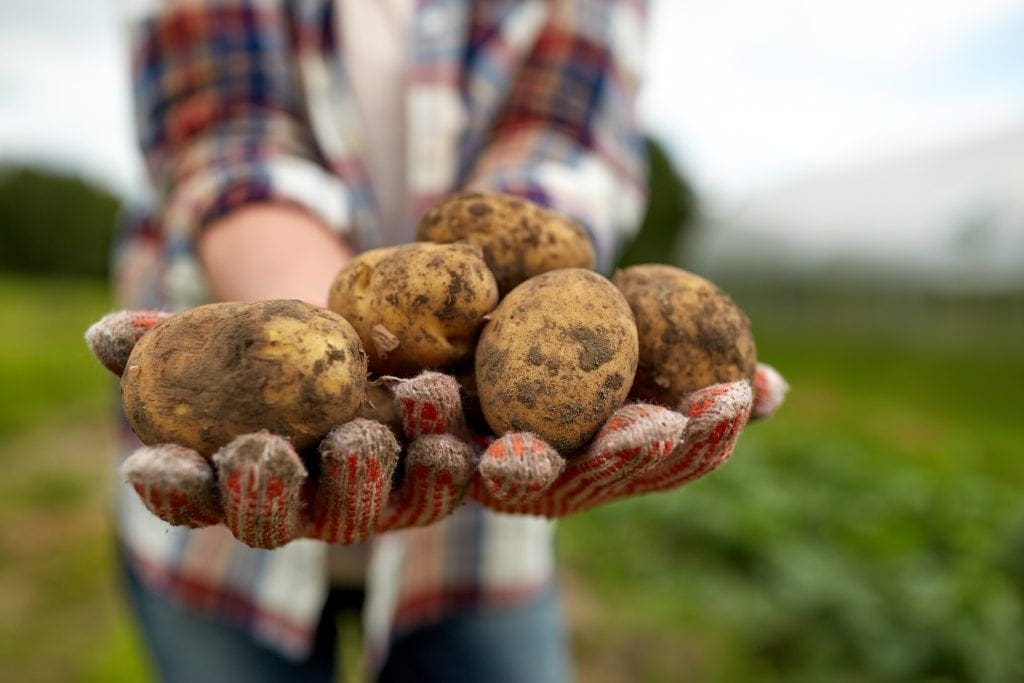
This is particularly useful for root vegetables, as you don’t have to spend time digging them out and replacing the soil. It really is as simple as just giving them a gentle tug.
Since they’re so close to the surface, crops such as leeks will have a much shorter root section (the white bit at the bottom), which in my opinion is nicer but that’s a personal choice.
Any weeds are easier to spot and remove
Perhaps the most advantageous (and my personal reason for trying a no dig method) is the seriously reduced number of weeds you get throughout the growing season.
It all pertains to that first period in which you blocked out the sunlight for the topsoil, before laying your compost. This killed off all the grasses and the majority of weeds that are going to cause you issues.
Perennial weeds may still occasionally pop through as they can be quite tough, but if you just move them as far down as you can comfortably get they’ll die off pretty quickly, and really don’t cause much of a problem.
Improved soil structure
The soil structure itself is much better, as the natural pathways and tunnels that have been dug by earthworms and small organisms haven’t been destroyed.
This leads to not only better drainage, which is critically important, but also allows the roots to grow easier, giving the plant more resources to funnel into the actual growing of vegetables, which is really what it’s all about!
Better moisture retention
Finally (but in no way redundant) you’ll have much better moisture retention. The topsoil will be shaded throughout the season, especially so if you took the advice contained in our blog on uses for your wood chips and used wood chips to provide additional shade to the top layer of soil. The wood chips are able to absorb water whilst providing shade, regulating moisture levels and preventing the need to water quite so often.
For some climates, this doesn’t make that much difference, but if you’re growing in particularly hot climates then this can be a big advantage that you might want to make note of.
Does No Dig Gardening Work?
So, I suppose this is the million-dollar question, as up until this point it does sound a little too good to be true, doesn’t it?
The general consensus is yes, with previously mentioned Wizard Charles devoutly advocating for it, but it’s not without its flaws
In order to get set up with the no dig method, you’re going to need compost. A hell of a lot of compost.
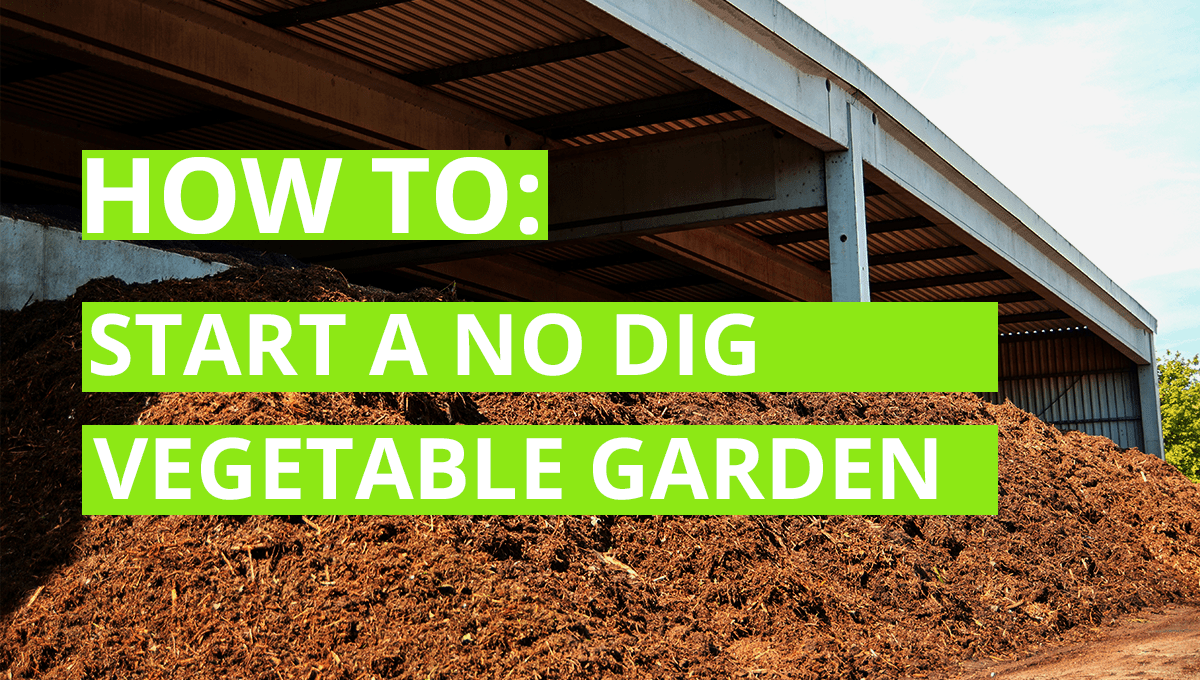
Maybe this much compost?
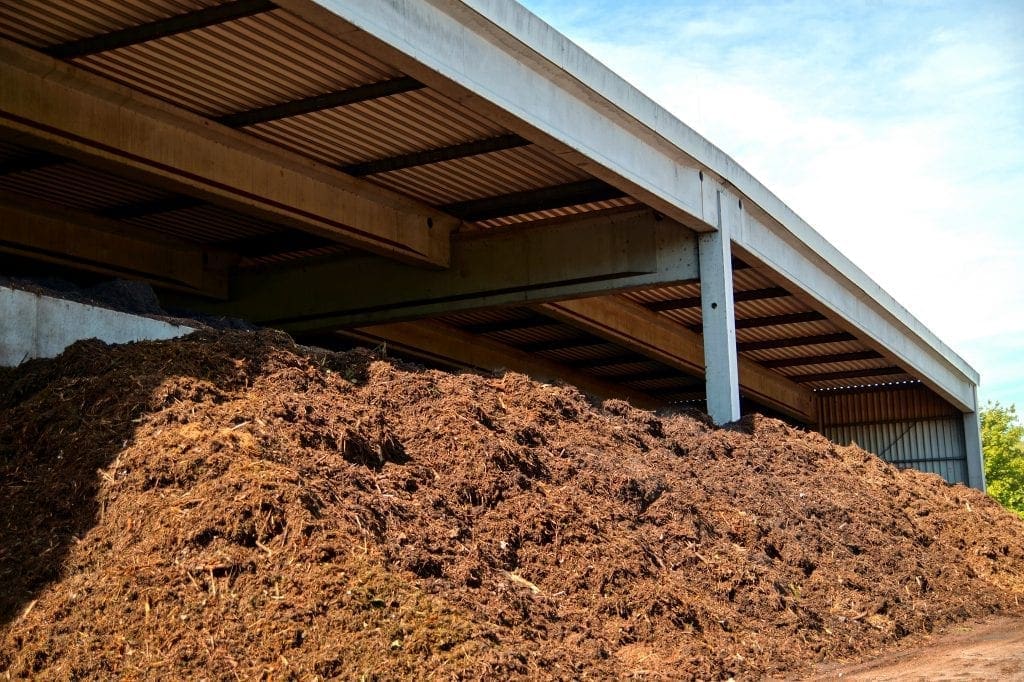
For a standard 8 foot by 4-foot bed, you’re going to need at least 600 litres, but chances are for optimal results, even more than that. (The best option is probably to make your own, saving you valuable money – find out how to make your own compost at home here)
So depending on how many beds you have, and the size of your allotment, you may be forking out a lot of upfront costs just to get things ready, if you’ve not made your own compost.
And that’s not even mentioning the work that goes into actually getting all that compost there.
It may not be so bad if you can park your vehicle next to where you’ll be using it, but if you have even a small walk to get to your beds, then you’re in for a bad time.
And for the most part, people who use no dig opt to build raised beds in order to keep all your compost in one place or risk it blowing all over your garden.
You can build these yourself for pretty cheap, and they don’t have to be anything flash. But once again, it’s time spent preparing your beds.
You have to prepare your growing area well ahead of time, we’re speaking at least 3 months to get the majority of growth to die off beforehand (though arguably this is up for contention, as some very experienced horticulturalists say you can go straight into it, but I wouldn’t advise that).
And this can take anywhere up to a year for all the weeds and grasses to die off, perennials are particularly irksome.
And, though I can’t attest to this myself, a study published in 1947 trialled the no dig and reported that there was a significant drop in the fertility of beds after around 5 years, though I’ve not heard this from anybody else so make of that what you will.
How To Make a No Dig Vegetable Garden
So, if you’re going ahead with a no dig garden, below are the steps you need to follow to get you started.
- Mark Your Area
If you’re using raised beds, then this step is going to be pretty obvious. Even so, marking out the area you’re going to be using for no dig gardening is a crucial first step so you know where to lay your cardboard or mulch down.
If you’re not using a raised bed, then using pegs and string is the easiest method I’ve found for this Simply stake in the four corners of your bed, and then tie a string across so you can recognize the boundary easily.
Pick your spot carefully, you want to avoid areas that are likely to be mostly shaded. 6 hours of sunlight is the least we’d recommend.
- Gather Your Materials
You’re going to need roughly 1.5x the size of your marked area worth of cardboard so that you can overlap the edges and make sure there are no gaps in your layer.
You’re also going to need enough compost so that you can spread a 5-6cm layer across the whole area (told you it was a lot).
- Lay Down Your Cardboard
Spread your cardboard out over your future bed, making sure there are no gaps. It’s best practice here to overlay edges to prevent weeds from finding the gaps and growing through.
Once all your cardboard is laid, water it heavily to both help it stays in place, and to begin the process of allowing it to break down. I’d also secure the edges with stones/stakes/whatever else you have at hand just to keep everything secure and in place.
Obviously, if you’re creating a raised bed, then put your frame on top of the cardboard.
- Compost It!
Now’s the time to put your compost on top. If in doubt you don’t have enough, always add more. It’s better to have too much, than too little.
Firm down the compost once it’s all layered on, and then water.
This is your bed complete. You can plant straight into this, but personally, I’ve always given it some time to settle in and let the weeds die off a bit. That’s up to you.
And don’t forget, the best way to plant is to propagate, not direct sow. But that’s a whole different article.
Hope you’ve enjoyed this post, check out some of our others here and don’t forget to comment with your experience of no dig gardening, we’d love to see photos of your allotments and gardens.




Hi. I’m been gardening for years an I have a lawn not really much with weeds it’s going to be growing boxes now if I want there is no issues if I choose not to put cardboard down right ? But I will probably remove some of the grass an use it to touch up some holes in the yard. So that should be ok. The boxes are about 10 inches tall.
I have been a massive fan of Charles Dowding for 4 years, ever since I attended a presentation he did in Norwich in Dec 2017.
I had been doing a version of ‘No Dig’ by covering the area in cardboard, using a hole cutter to cut a hole approx. 75mm in diameter right down to the soil underneath. I’d then put a seed potato in the hole and cover with compost and then straw to a depth of approx of 15cm. It worked very well.
As the article explains – you’re going to need a lot of compost. I was able to buy 4 cubic metres of green waste compost for just over £160 in 2018 and that was sufficient to cover 24 square metres, with a little bit left over. I had to wheel it about 250M and basically, I’d do an hour or so in the morning and maybe a bit less in the afternoon. It took me about 2 weeks. I’ve also covered the paths in woodchip to make things easier.
The results are superb and I have even convinced a person in their 70s (I turned 70 this year) that ‘No Dig’ (and no crop rotation) is the future and he is now trying to persuade others to join the cause.
I mention no crop rotation is necessary, as you raise plants to replace crops as you harvest earlier crops, so that more than one crop is grown in the same area each year. You may have seen that Charles has grown 2 crops in the same area for around 7 years – potatoes followed by leeks with no problems.
I guess the $64,000 question is – would I do it again and the answer would be a resounding, ‘Yes!!’