Last Updated on August 19, 2020 by Forest Master
So you’ve just finished up crafting a piece of wood on your workbench (which these clamps are awesome for, by the way) or sawhorse, and now you want to make sure it stands the test of time. This article will explain the various types of wood treatment available, the differences and ultimately how to treat wood. Read on to find out more!
If you want to properly treat your wood, and keep it healthy then it’s very important you use the right products on the right types of wood, and use them at the right time. Failing to do so will leave your efforts useless, and expose your wood to damage, pests such as termites, or even rot. However, if you follow the advice in this guide you can expect to have wood that will pass the test of time and keep looking in good shape.
There are a number of effective ways in which you can treat your wood, those being oiling it; staining it or painting it. And whilst there is no ‘best’ way of treating your wood, all of these methods will achieve different results and finishes, which leaves it up to you to decide which you would like.

Oiling Your Wood
Oiling your wood tends to bring out the natural texture of your wood, however may not be considered the most attractive finish depending on the type, grade and cut of your piece of wood. This method is used for sealing the wood without changing the exterior image as much as the others, so depending on whether you like the rugged finish this method may or may not be for you.
It is important that if you are planning on using oil on your wood, you use flax oil/linseed oil (these are the same, just can be labelled differently) and really work it into the wood so that it is absorbed. A frequent mistake people make when oiling wood is simply dumping the oil on top and allow it to be washed away.
Staining Your Wood
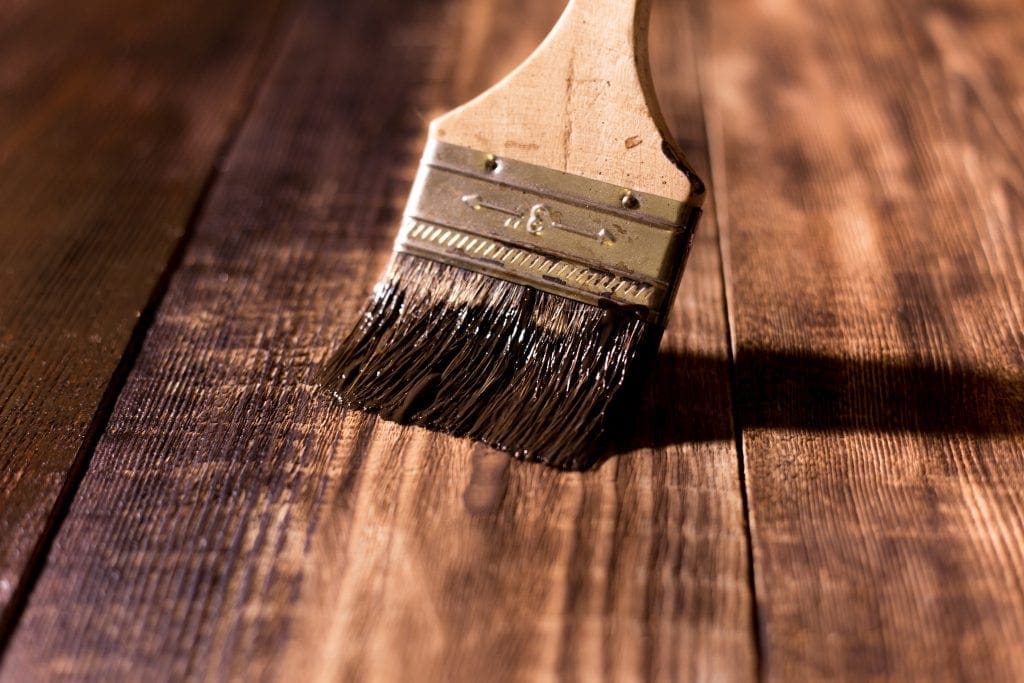
Staining your wood isn’t vastly different to oiling it in the process performed, as the name may suggest it simply gives a darker, more treated look to the wood which many people prefer. There are different grades of wood stain depending on how dark you want the finished look to be. There is no need to oil your wood before staining it, as it will achieve the same protection without, however you can stain previously oiled wood if you’re looking to change the visuals. Staining wood that has been oiled may even help with the application of the stain, as it will help you put a more even coat over the surface of the wood, however obviously it will prevent as much stain from being absorbed and may need restaining sooner than anticipated.

Painting Your Wood
Painting your wood negates the need for you to oil or stain your wood, as an even and uncracked layer of wood paint will do just as good a job of preventing moisture getting into the wood and causing damage. It is imperative however that the paint remains uncracked, as obviously any cracks will allow moisture into the wood, breaking the sea and leading to the possibility of damagel. It is possible to paint oiled wood, however we wouldn’t advise it as some paints will not adhere well to the oil. Sand down your wood first using 320-grit sandpaper removing as much of the oil as possible before applying your coat of paint.
How To Treat Your Wood
Step 1
Wash the wood with warm soapy water, or a jet washer, to remove any debris and small parts from the wood.
Step 2
Sand the wood down to a smooth finish using 250-grit sandpaper, including all hard to reach places such as edges and corners.
Step 3
Vacuum the wood and wipe down with a dry cloth to get rid of all the debris and particulate matter, leaving a clean and smooth piece of wood.
Step 4
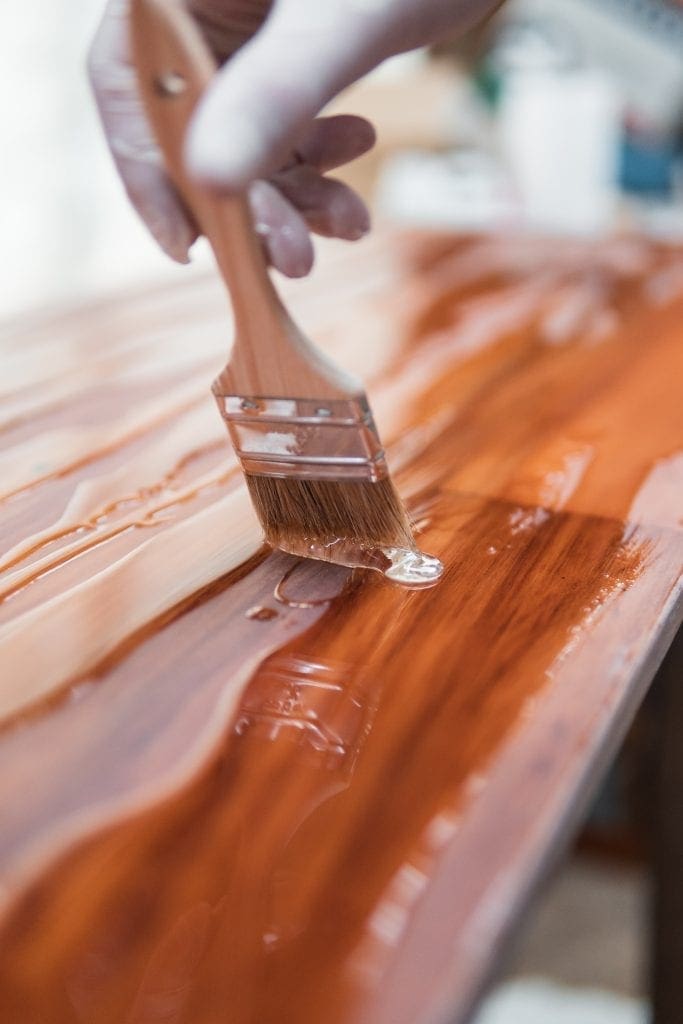
Apply your chosen finish generously and evenly over the surface of the wood, and leave to dry for the amount of time specified on the instructions of your chosen finish.
Step 5
It is a good idea to wipe down your wood once dried and then reapply a second thinner coat.
Step 6
Wait at least 24 hours for everything to dry, and then enjoy your new finished wood as you please!
Like this blog post? Check out some of our other content


